You might know Riley Sheehey's artwork from her collaborations with brands like Ralph Lauren, LaCroix and Dixie Design Collective, but before she became a go-to for whimsical watercolor illustrations, the D.C.-based artist was actually a lower-school art teacher. Last week, with kids across the U.S. transitioning to at-home learning, Sheehey put on her art class apron back on (metaphorically, at least) to share some of her favorite "mini-lessons," all inspired by famous 20th-century artists, with parents via Instagram. Check out a few of our favorites below—and who knows, you might learn a little art history, too!
Onomatopoeia Pop Art Inspired by Roy Lichtenstein
Ages: 3rd-5th grade
TEACH
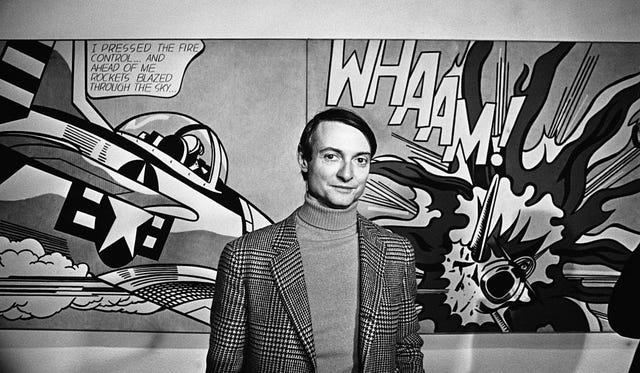
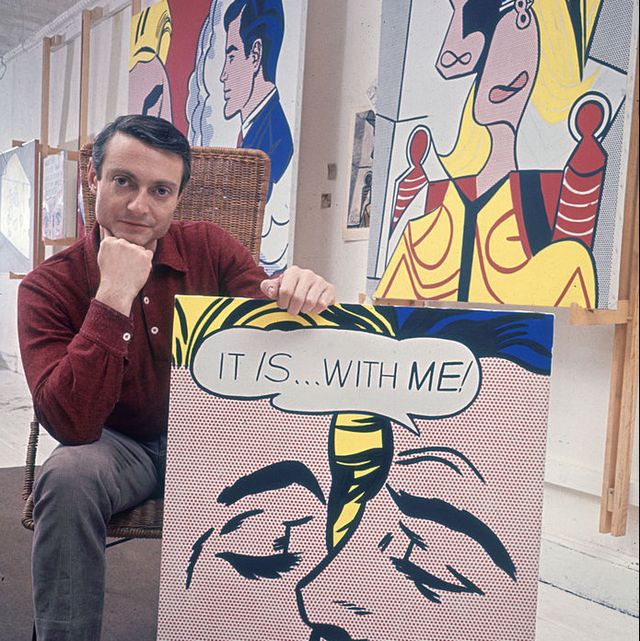
“Pop art” is a type of art that started in the 1950s in Britain and the U.S. It is based on everyday images that we see: food packaging, comic strips/cartoons, advertisements, etc. It surprised and shocked people—artists took things like soup cans and turned them into giant paintings!
More From House Beautiful
Roy Lichtenstein was an American pop artist. He took comic strips and turned them into giant paintings. In the 1950s, newspapers (and therefore comic strips) were printed with something called “Ben Day” dots, or dots of color that were placed very close together. Lichtenstein used paint to mimic the Ben Day dots, working with mainly primary colors (red, yellow, and blue) and black because those were the colors that most comic books and newspapers used.
“Onomatopoeia” is a word that sounds like the thing it’s describing.
STUDIO
Materials:
- White tagboard (linked in “Mini Art Lesson” highlights)
- Black permanent marker
- Pencil
- Red, yellow, and blue tempera paint
- Bubble wrap
- Wood toy block (or anything rectangular, like a box of soap, etc.)
Steps:
1. Have child pick a word example of onomatopoeia (“pop,” “pow,” “click,” “bang,” etc.)
2. Trace over line drawing in black marker.
3. Wrap block with bubble wrap and tape to secure. Dip wrapped block in paint, then “stamp” over block letters to create Ben Day-style dots.
4. Once dots have dried, paint the background/surrounding area with paintbrush in primary-colored paints.
Found Object Assemblage Inspired by Louise Nevelson
4th grade to adult
TEACH
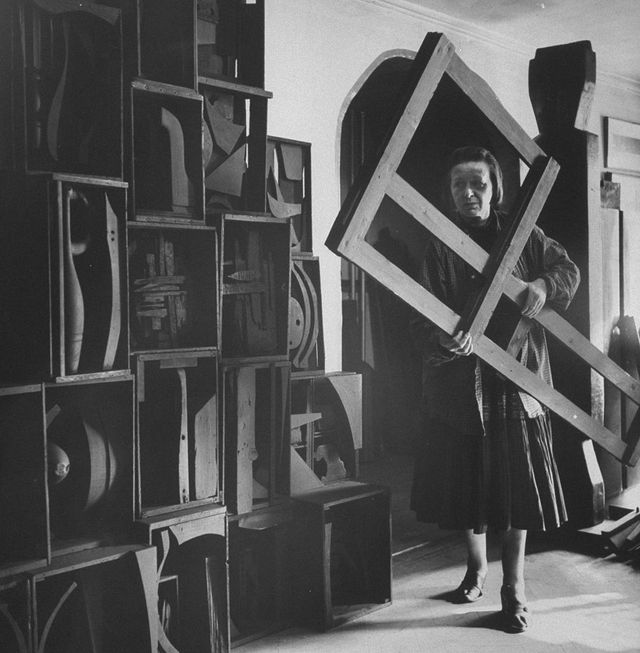
Louise Nevelson was an American sculptor. She was born in Russia in 1899, and moved to the U.S. with her family when she was six years old. She is famous for her large abstract monochromatic sculptures, made out of wood and “found objects.”
“Found objects” are just what they sound like—things that can be found around the house, like bottle caps, paperclips, and old toothbrushes. Nevelson combined these objects together to make “assemblage” sculptures.
She would spray paint her assemblage sculptures a single color to make them “monochromatic.” Black, white, and gold were common colors that she used.
STUDIO
Materials:
- Empty cardboard jewelry box or shoe box
- Assorted found objects
- Acrylic craft paint and paintbrush OR spray paint (proceed at your own risk!)
- Hot glue gun or wood glue
Steps:
- Have child go on a scavenger hunt to find as many “found objects” as they can. The objects need to fit inside their jewelry box or shoe box. The recycling bin and the backyard are both great starting points.
- Child should arrange the “collection” of found objects in the shoe box. Talk to them about balance—for example, you don’t want all of the objects in one corner of the box; if you have an object in the lower right-hand corner, it’s a good idea to have another in the upper left. Look at examples of Nevelson’s sculptures for inspiration.
- When the child is happy with their arrangement, have them use wood glue or hot glue (with your help) to glue objects inside their box.
- Once assemblage has dried, either use tempera or spray paint to paint everything one color. (If you’re using paint and a paintbrush, it sometimes helps to paint the objects before gluing them.)
- Bonus step: When sculpture has dried, have child sketch a picture of the finished product.
Wire Sculptures Inspired by Alexander Calder
Pre-K through 8th grade (yes, really!)
TEACH
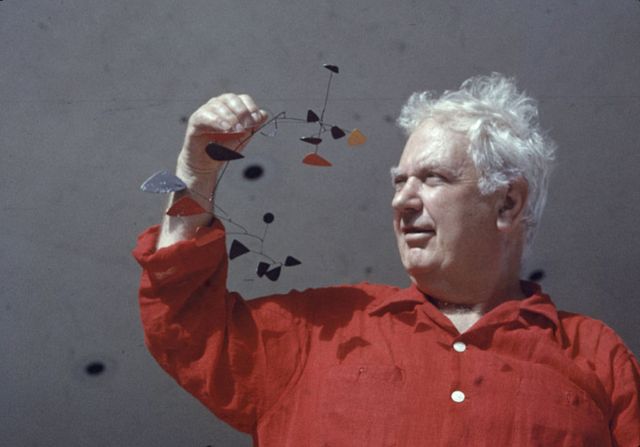
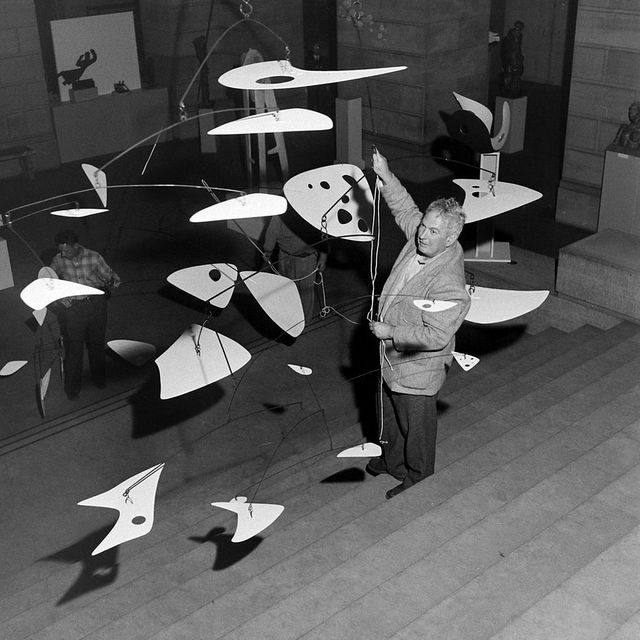
Alexander Calder was an American sculptor who made sculptures out of different materials—metal, wood, whatever he could find! When he was growing up, he’d even make jewelry for his sister’s dolls out of scraps of copper he found laying around. (Both of his parents were artists, too.) He is most famous for making “mobiles,” or sculptures with moving parts.
A sculpture is a piece of artwork that is three-dimensional. That means it isn’t flat—it can be big or small, and you can walk around it (and sometimes put your hand/arm through it!).
This can be tweaked depending on the age!
STUDIO
Materials:
- Pencil
- Paper
- Twisteez wire
- Scissors (for older children)
- Scraps of cardboard, string, etc.
Steps:
Activity 1: Have child make a one-line drawing (without lifting their paper), then try to recreate it with a Twisteez wire.
Activity 2: Best for older children. Have child use Twisteez wire, string, and scraps of cardboard to create their own hanging mobile. Discuss the importance of balance in making a mobile—the weight needs to be equally distributed, or the sculpture will hang funny!
Activity 3: Have child create his/her own wire circus, like Calder. (Check out this video from the Whitney Museum of Calder “performing” his!)
Self-Portraits Inspired by Frida Kahlo
Kindergarten through 8th Grade (and up!)
TEACH
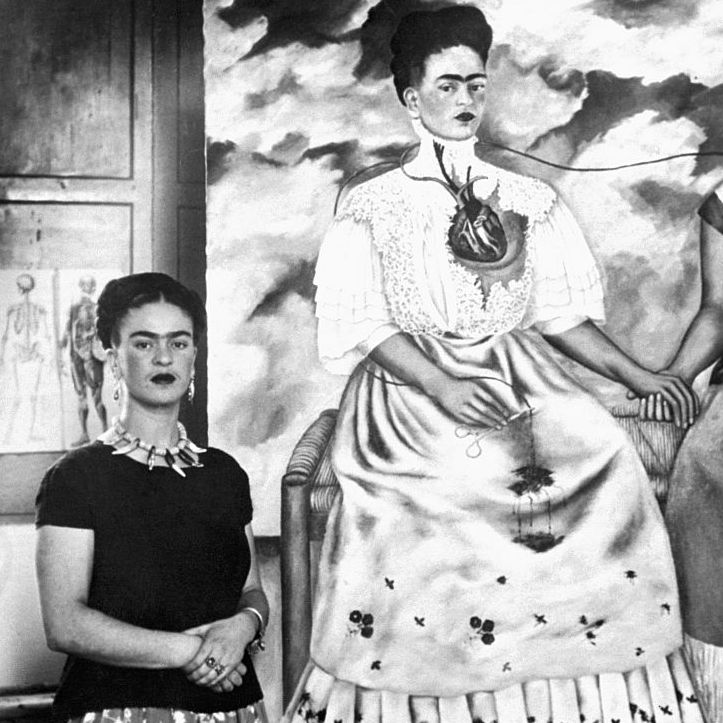
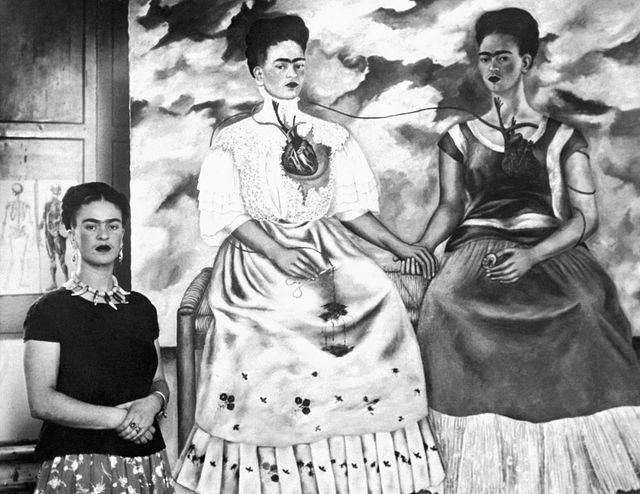
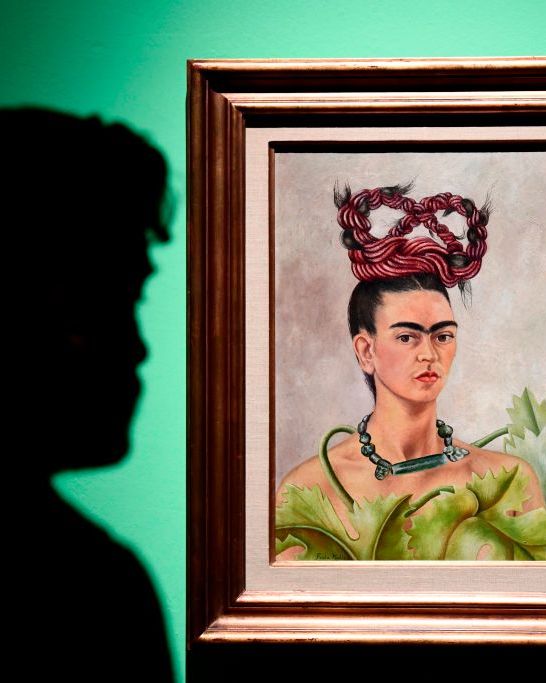
Frida Kahlo was a Mexican painter who is known for her many self-portraits. A “self-portrait” is a picture made by you of yourself.
Frida began painting and drawing a great deal while bed-ridden from a bus accident in her teens. This shows how something good and beautiful can still come from something sad and scary!
Our faces have “symmetry,” which means that they are the same on both sides.
STUDIO
Materials:
- Pencil
- Colored pencils
- Paper
Steps:
- Start by asking child where the eyes fall on the face. Child will probably say the top. Using a ruler, measure from the top of the head to the eyes to show that our eyes actually fall in the middle of our faces!
- Have child draw their own self-portrait using a pencil and paper, and then color it in with colored pencils. Teach them how Frida often included symbols or animals/pets in her portraits and encourage them to include symbols (soccer balls, ballet shoes, etc.) in the backgrounds of their portraits.
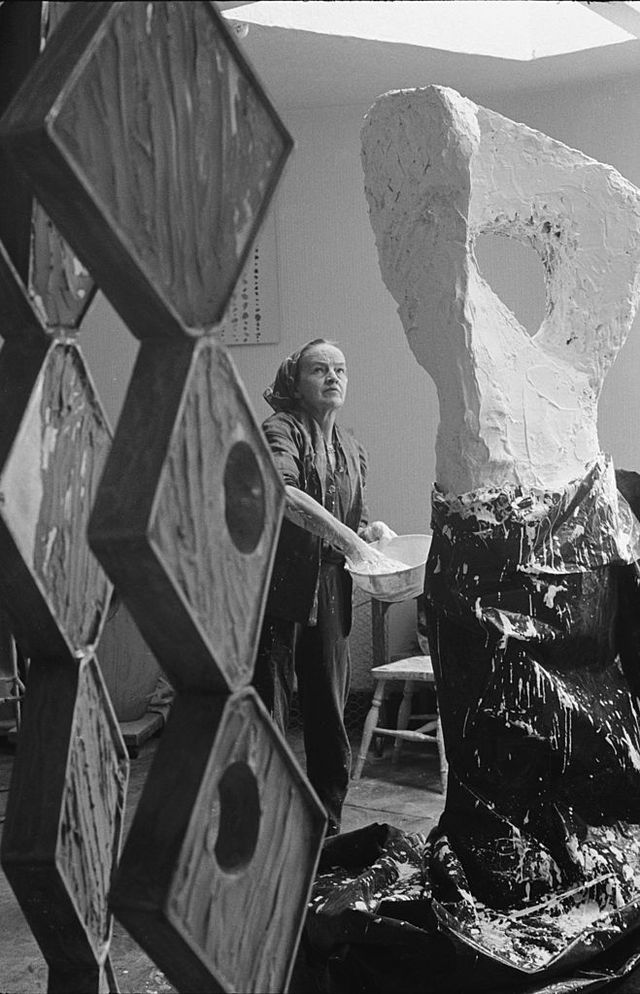
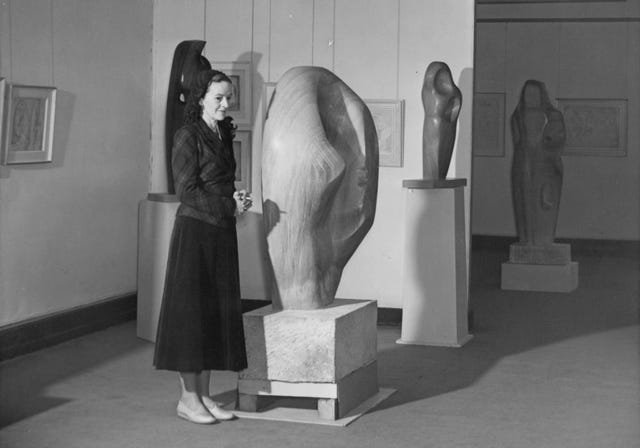
Abstract Sculptures Inspired by Barbara Hepworth
Preschool through 1st grade
TEACH
Barbara Hepworth was an English artist who made abstract sculptures with negative space.
When art is “abstract,” it doesn’t look like something you’d find in the real world (like a person, or a pet).
“Negative space” is empty space. If you can poke your finger through something, it’s negative space. (To illustrate, pose with your hands on your hips and have child put their arm through the “negative space.”)
STUDIO
Materials:
- Model Magic, Play-Doh or clay
- Square piece of construction paper
Steps:
Using clay or other material, have child make a sculpture that is freestanding (at least the height of a closed fist), has at least one negative space, is abstract, and has a base no bigger than the tagboard.
Follow House Beautiful on Instagram.

Emma Bazilian is a writer and editor covering interior design, market trends and culture. She has very strong feelings about tissue box covers and believes that everything is better with toile.
