You spend so much time figuring out the exact perfect color to paint your walls, but what happens once you've finally chosen the perfect hue? Without a solid paint job, that shade (and finish!) you obsessed over won't look quite the way you expected. Take it from an expert—here's what you need to know before you break out the brushes and the rollers, straight from Behr's National Trainer, Jessica Barr.
1. Saturate your roller with more paint than you think you need.
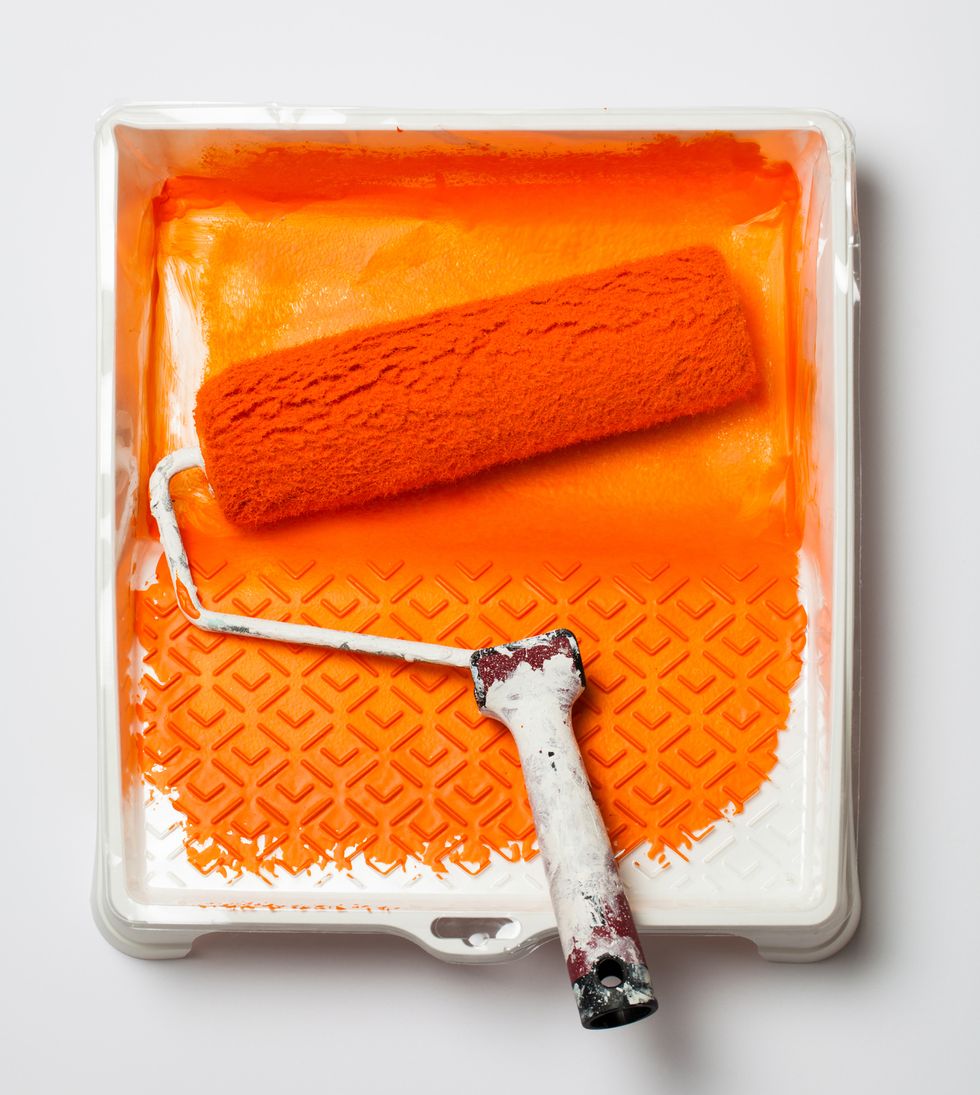
Before you ever touch a roller to your walls, you have to load it up with paint. And that means really loading it up. "Some people are like 'Oh, I’ll roll it through once or twice inside the tray,'" Barr says. "I’m talking 10, 15 times. I want the paint all the way down to the fabric, because this is what is delivering it to the surface."
And don't worry, it's not a waste of paint. Promise! "People are afraid to do it because they think they’re wasting so much paint in the beginning," Barr says. "Think about it as you’re using less paint from the very beginning. [If you] get it in there, the paint’s going to go further, harder, longer, stronger.”
2. Don’t forget to reload your roller before each section.
Generally speaking, it's recommended to paint in sections—Barr says a 3-foot by 3-foot section is common. All that work you did saturating the roller before that first section? That's not going to get you through the entire paint job—you have to do it again before you move on to the next part, or you risk being unhappy with the final result.
"On the outside of the paint is a label, and it typically will tell you a square footage range," Barr explains. "On interior paints, it’s 250 to 400 square feet, because of porosity. So if people are not reloading, they’re usually getting 500-600 square feet out of a gallon of paint." If that sounds like a steal, think again. "Some of you might be like 'Well, that’s awesome, I saved a ton of money, I got to do more rooms!'" Barr says. "Did it deliver the best durability? Is the color going to be accurate? Is the sheen going to be accurate? No."
3. And definitely don’t push your roller into the wall.
If you've ever painted a room, you're probably guilty of doing exactly that. (I have too! You're not alone.) "A lot of customers do not reload their roller, or do not saturate their roller enough, so they’ll look down at it and it’s covered in paint or it’s discolored, right—the fabric absorbs that paint color, so they’ll just push harder on the wall to get every ounce of paint out of the roller cover," Barr says. Pushing down on the roller can leave roller marks and hatbanding (when the color doesn't dry uniformly and looks darker in some spots than others), so it's best to reload your roller and lay off the pressure.
4. Choose the right roller nap for the job.
Are you sitting there wondering, "What's a nap?" Don't worry, the answer is pretty simple—it's the thickness of your roller, and yes, it totally matters. For most paint finishes, Barr says you need a 3/8-inch nap, for a high gloss paint, you'll need to go smaller.
"If you are going to use high gloss, we actually suggest a 1/4-inch nap," Barr says. "As you increase in sheen, you’re going to notice obviously the paints become shinier, which means inside the can, the pigment particles have become smaller, and they lock together tighter, which allows light to reflect off of them. So, the higher the sheen, the smaller the nap."
For textured walls (think brick, Hardie board, masonry, etc.), you'll have to go the opposite route and use a bigger nap. It's also important to saturate it with even more paint. "If we’re talking about textured walls, that’s when you want to step it up to a 1/2-inch or even possibly a 3/4-inch," Barr says. "It comes back full circle, if you’re dealing with a 3/4-inch, which is real bushy, you’ve definitely got to saturate that roller. So, now we’re talking 15, 20 times—you’ve got to get that paint in there."
5. Only load brushes up halfway—and don't wipe them off.
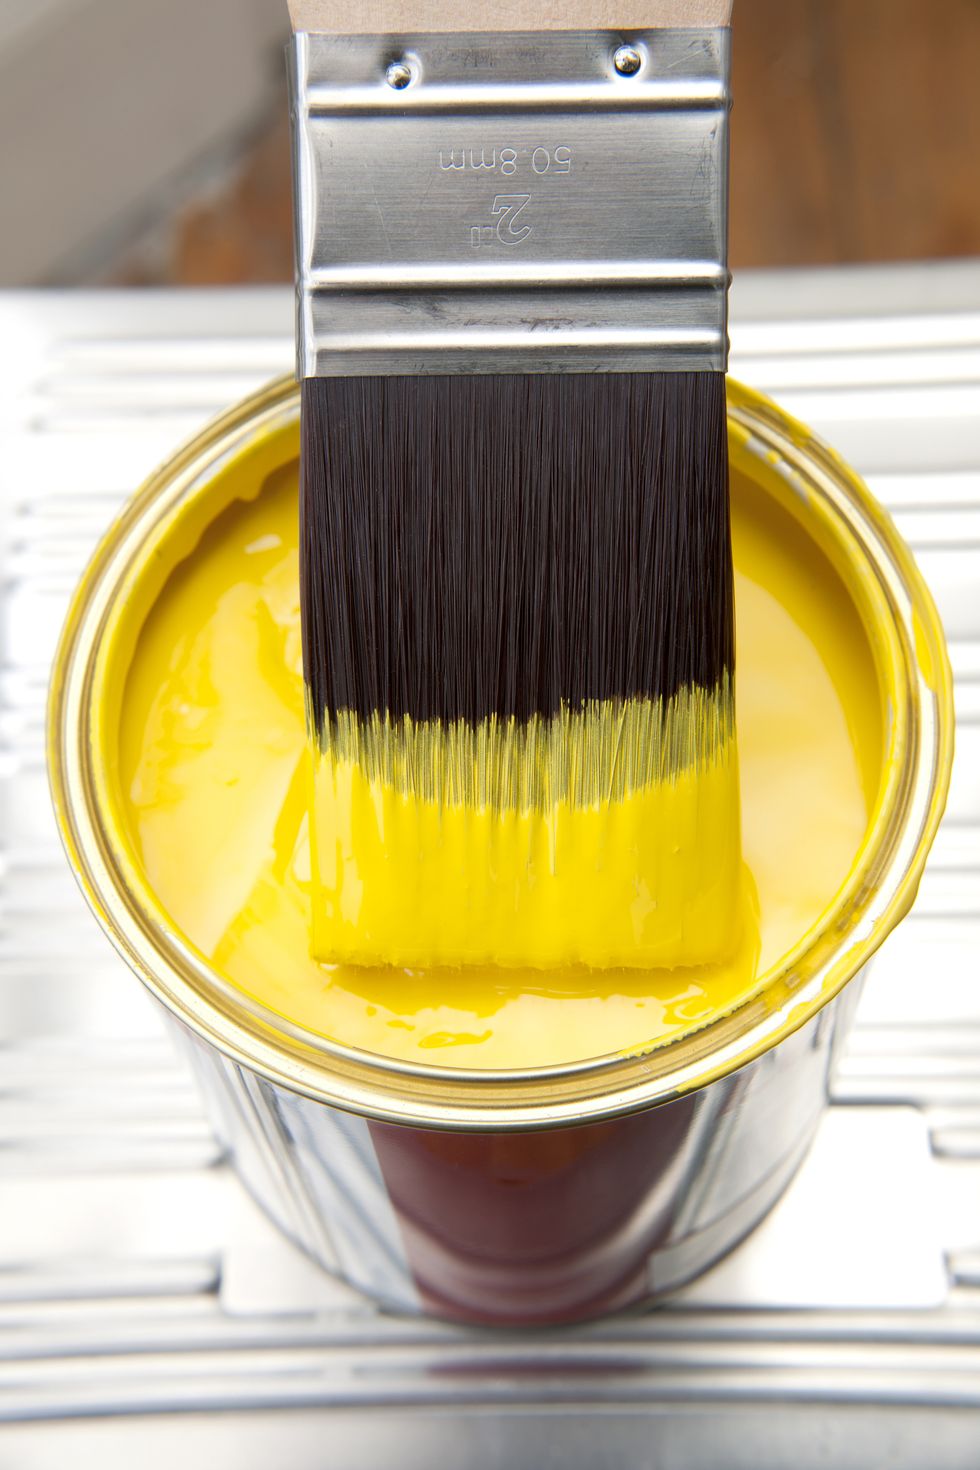
If you don't spend a lot of time painting, you might not know that paint brushes actually have a little reservoir inside them to hold the paint. "Inside these bristles, which you don't really see, is a reservoir or a little space where the paint is actually being held," Barr explains. When you're dipping your brush in to the paint bucket, you really only need to cover the bristles halfway—that'll keep things less messy and let you get a better paint job.
So, what do you do if you accidentally get too much paint on the brush, or it's super drippy? Whatever you do, don't wipe it off before you paint. "The other thing a lot of people do, is they'll dip their brush in there, and then for some reason, we wipe it off," Barr says. Instead, you should let the brush sit and drip back into the can—Barr adds that you can even lift it up and twirl it (like spaghetti!). If all else fails, the trick is to dab the brush, not wipe it.
"If it’s like, really dripping for some reason—like I maybe put a little bit too much on the brush—what you can do is you can just lightly dab on the inside of the can on both sides, just to release a little bit of paint," Barr says.
It may sound like a challenge, but following these steps next time you paint will actually make your life easier—and leave you with a paint job well done.
Follow House Beautiful on Instagram.
Brittney Morgan is a noted land mermaid and a Virgo with a penchant for crafts, red lipstick, and buying way too many throw pillows. Her work has also been published at Apartment Therapy, NYLON, HuffPost, Hello Giggles, Elite Daily, and more.

