As any renter knows, decorating a rental apartment can often feel impersonal, especially when you don't have the freedom to paint, renovate, or make any permanent changes (unless you want to lose your security deposit, that is). But thanks to a slew of clever designers, there are tons of temporary design tricks that prove a custom look is possible.
Up-and-coming designer Matthew Gunselman of MG Interiors shared one such trick he used in his own rental apartment in Seattle. If you've ever rented a home with any outdoor space, you've likely encountered those standard-issue sliding glass doors that, frankly, lack any character. It was precisely those dull doors that inspired Gunselman to get creative. "I love this transformation because it lets you play with the architecture of your space and reinforce your own design style," he says. See the transformation below:
His stunning transformation was inspired by HGTV's Nate Berkus and Jeremiah Brent. "There was a small parlor that they designed for HGTV’s Rock the Block that had beautiful black French doors a lot of personality." He says, "I’ve seen DIYers upgrade IKEA cabinet doors with a windowpane look and thought: why not try this with my boring sliding doors?" Read on for his step-by-step instructions on how the designer transformed his space—and how you can too—using electrical tape and plywood.
What You'll Need
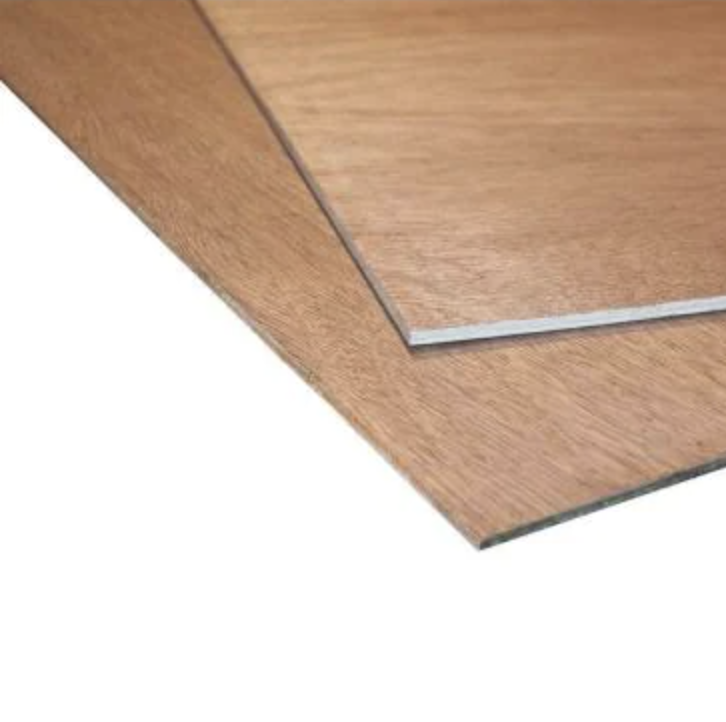
- 1/8” thick plywood sheet
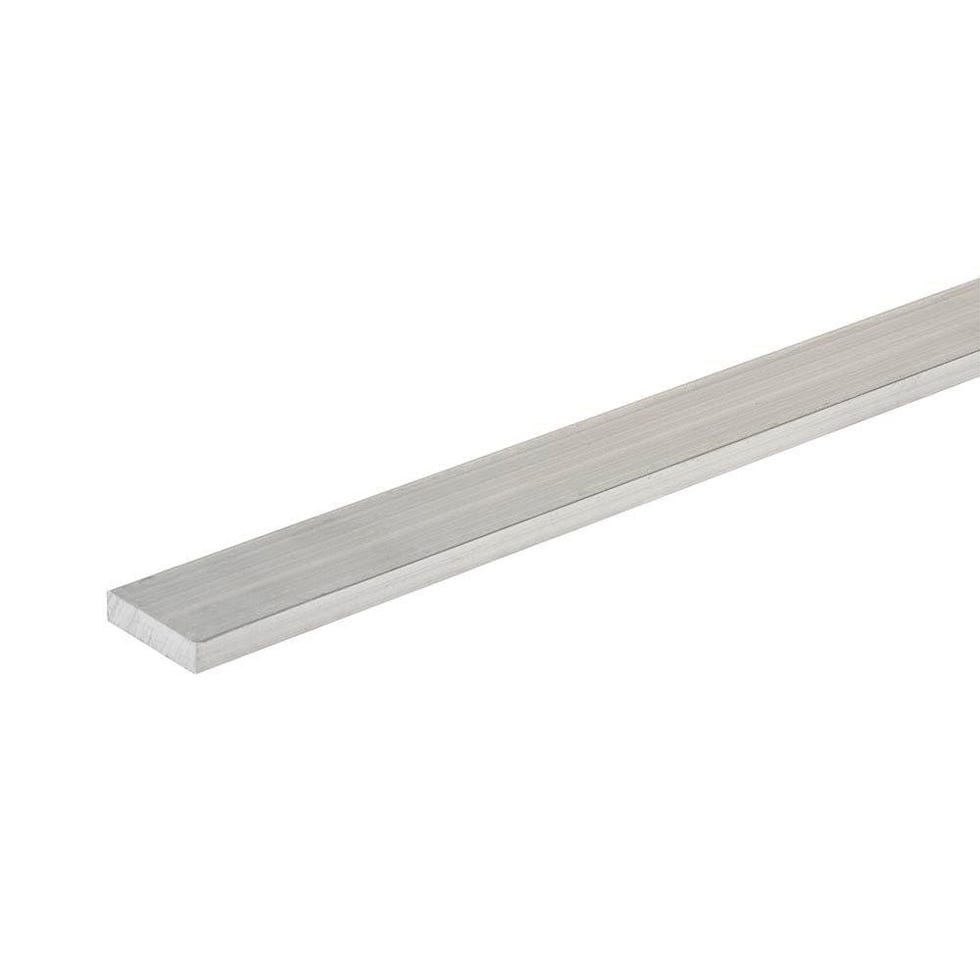
- 1/2” wide aluminum flat stock
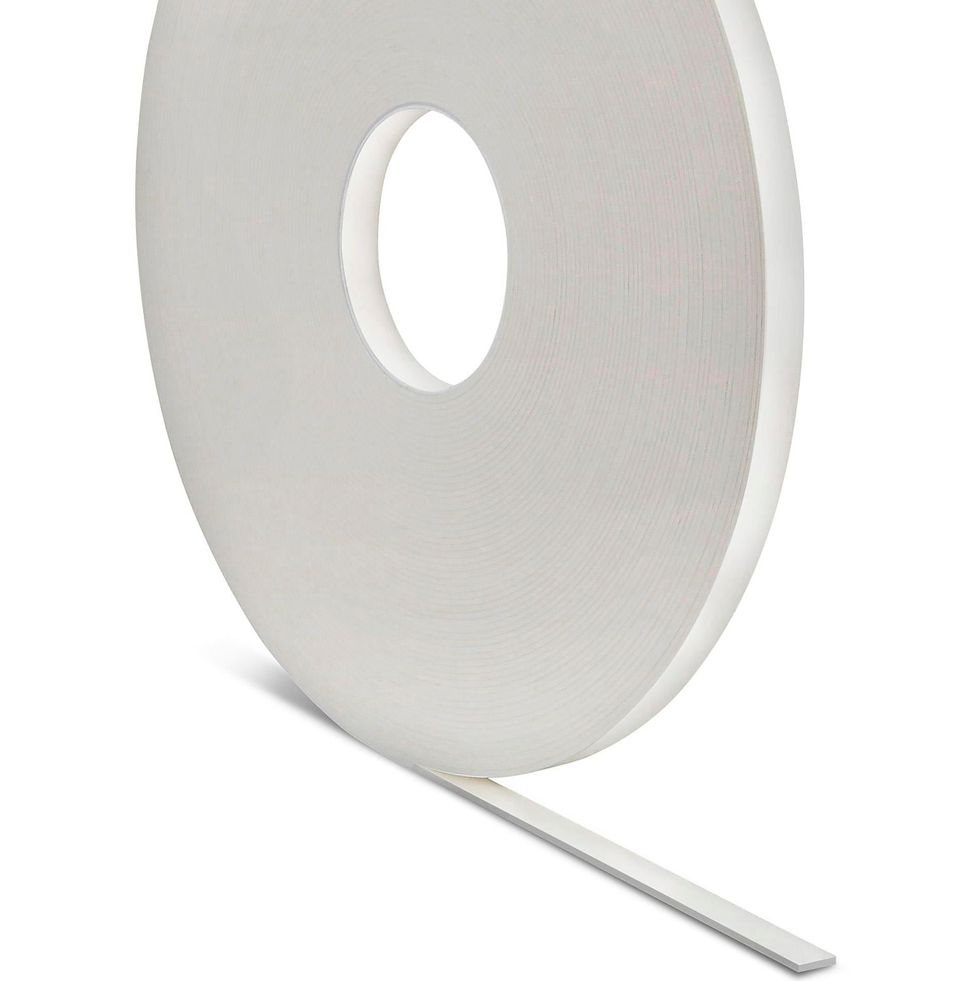
- 1/2” wide double-sided mounting tape
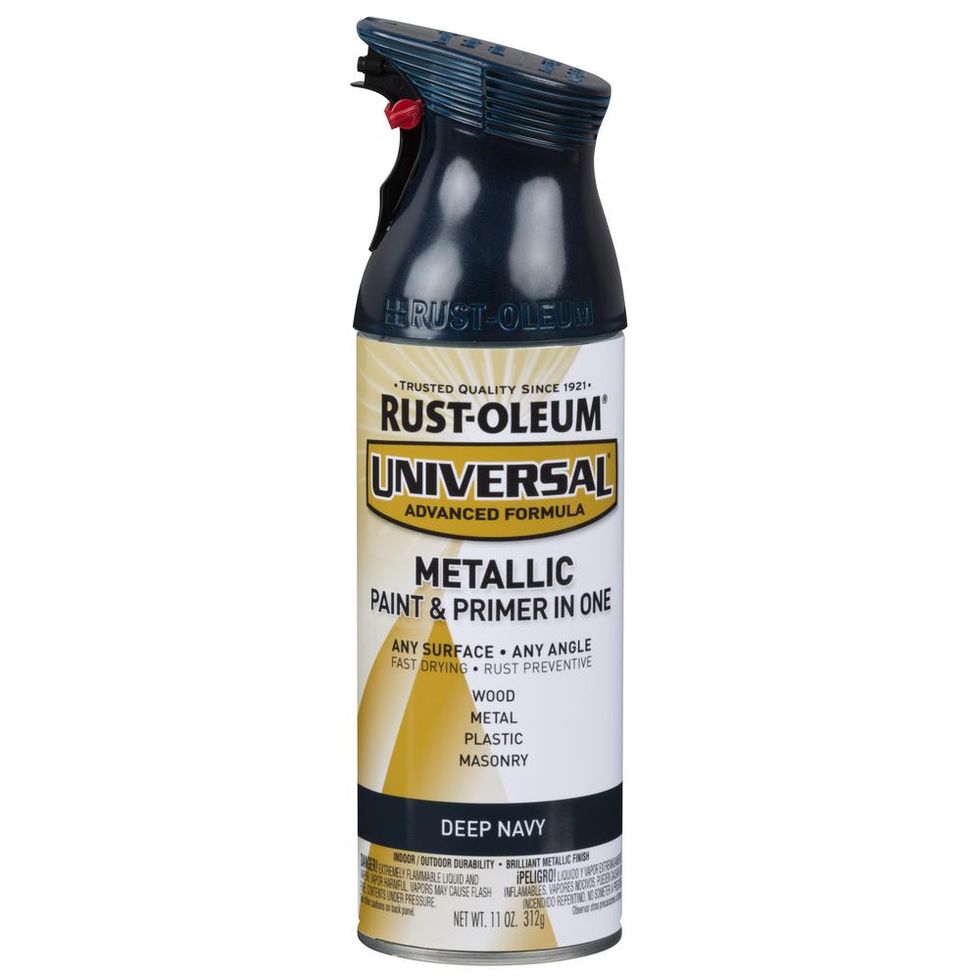
- Metallic nickel spray paint
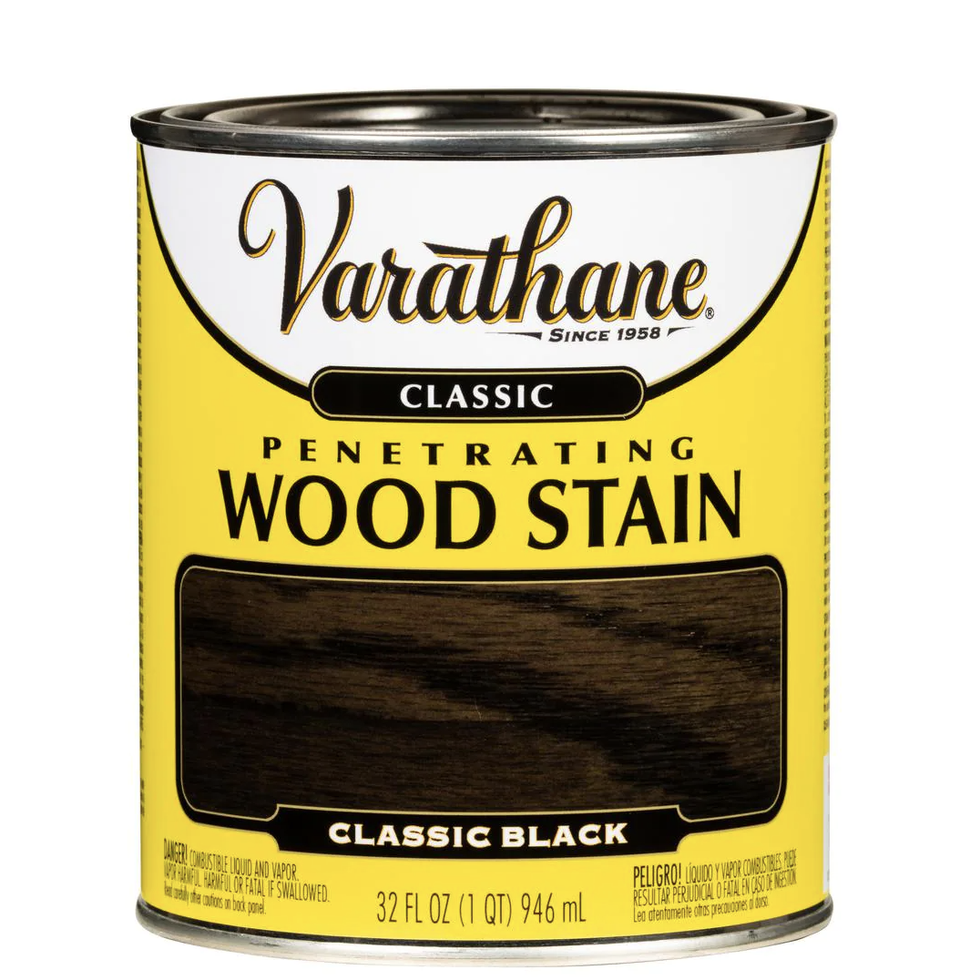
- Black wood stain
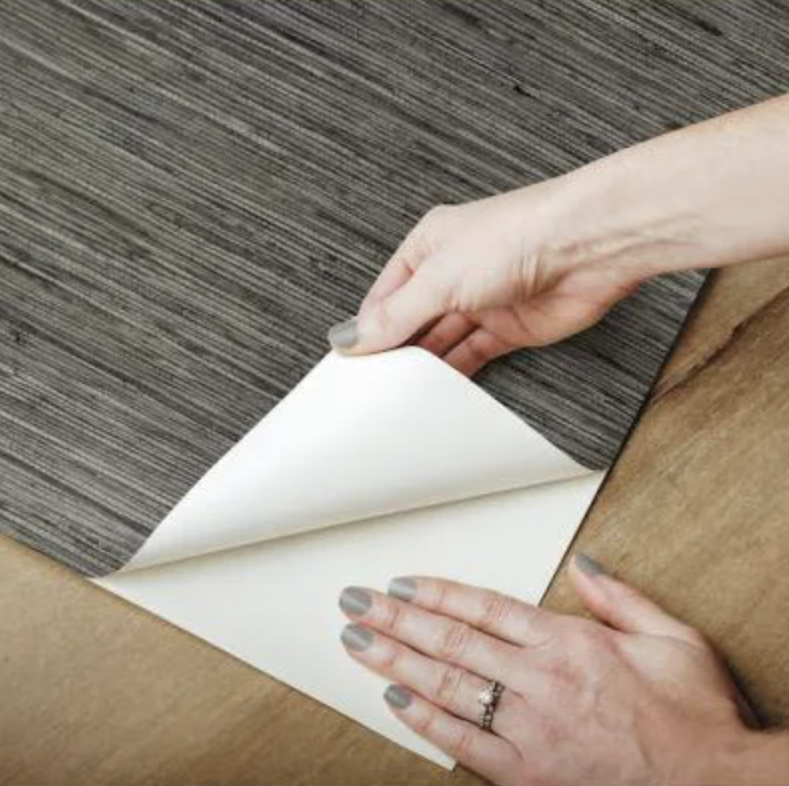
- 3.5” - 4” black peel and stick wallpaper
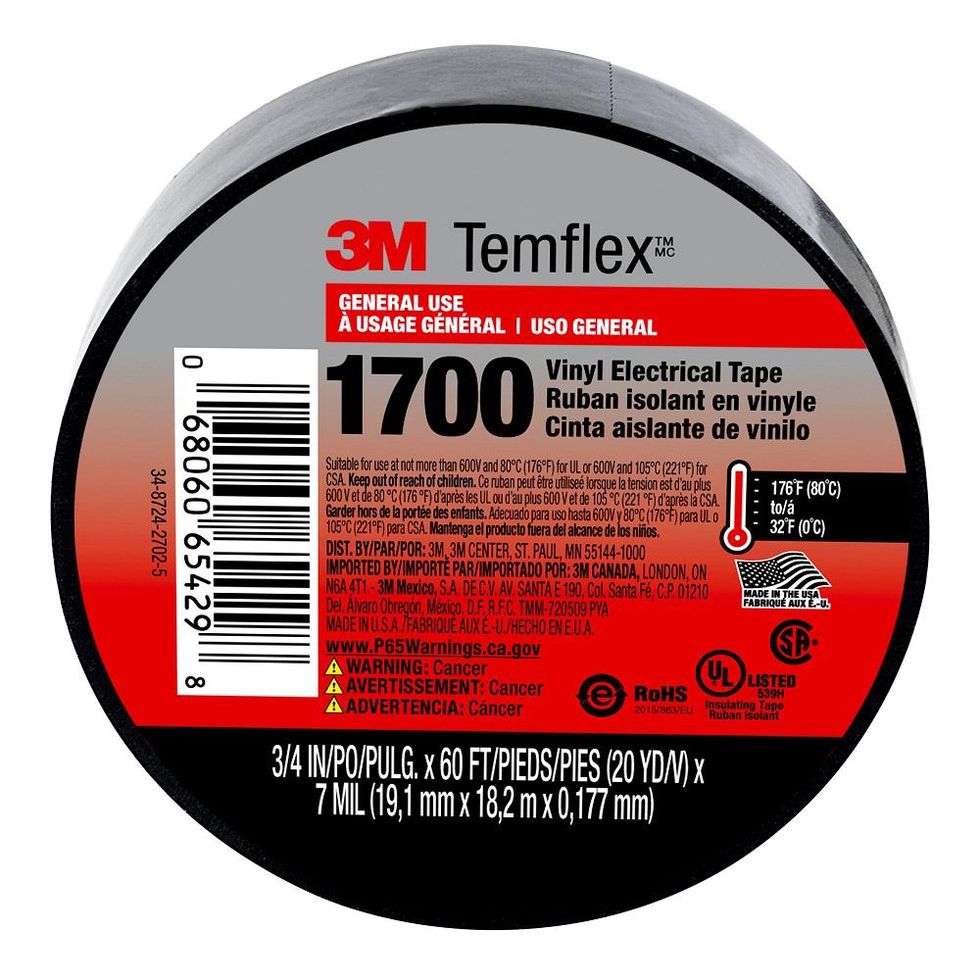
- Black electrical tape
How to Customize Ugly Sliding Doors
- Measure the width of your windows. Divide that number by two to get the radius of the arches. This number will also be the spacing for the window panes.
- Draw out arches on the plywood using a compass or string and pencil. Use a utility knife and carefully cut the plywood sheet into each arch piece. ("No power tools required!" he jokes.)
- Stain the wood pieces and set them aside to dry. "Consider how your window will look from the outside," advises Gunselman. "You may want to paint the reverse side to match the exterior door color if you can’t finish both sides of your doors."
- Cut the aluminum into window frame pieces. Gunselman used a long vertical center piece, though you can also use horizontal pieces. "Measure carefully and account for reductions," he advises. "You can cut the aluminum flat stock with a chop saw or bolt cutters. A hacksaw works too, but it can be time-consuming," he says.
- Clean and spray paint the metal and let the pieces dry thoroughly. Gunselman opted for a metallic nickel, but you could also use black for this. He also suggests spray-painting the door handle for a more cohesive look.
- Now, it’s time to cover your door using electrical tape and peel-and-stick wallpaper. He suggests using the tape for small details, like where the door frame meets the glass and the wallpaper for larger areas. When applying the wallpaper, start from one end and work towards the other to avoid air bubbles. If you do trap air, Gunselman suggests using a needle to poke a hole and push the air out. You'll want to make sure to cover the window frame and the door frame itself. After, trim the excess wallpaper with a utility knife. "Remove your door handle during this step to avoid tricky and complicated cutting," he suggests.
- Apply double-sided mounting tape to the back of each metal piece as well as the back edges of the arches. Attach the long vertical metal piece to the center of each window, followed by the horizontal ones. And like always, "measure carefully for even spacing," he advises.
- Affix each arch to the top of the window frame. "You can use some additional electrical tape to cover any light gaps," says Gunselman.
- Finally, style your space with curtains to complete the transformation from drab to fab.
The best part about this DIY (other than the fact that it looks amazing, of course) is how easy it is to remove. "When it’s time to move out, simply peel off the wallpaper and trim pieces," says Gunselman.
"As renters, we are often limited with what upgrades we can implement in our homes. This is my way of giving a dull space some architectural interest without breaking the bank or the terms of the rental agreement." Now that's what we call a clever DIY.
You love finding new design tricks. So do we. Let us share the best of them.
Nathalie is the former Senior Editor of Content Strategy at House Beautiful where she covered everything from home decor to the latest news. She is a social media pro and is obsessed with all things travel.

